Pearls, pearls, pearls – a silk hairnet
With this hairnet project I wanted to tackle several ideas and goals I held.
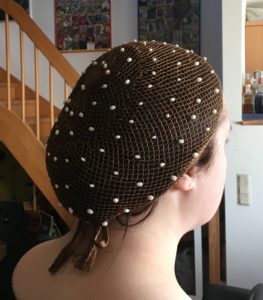
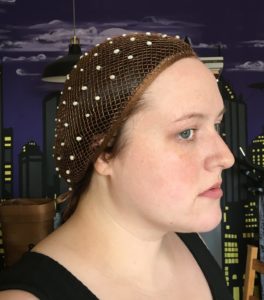
On the one hand, I wanted to try another pearled net after my Prototype of last year. On the other hand I had this beautiful, gold shimmering dark brown silk at home which I thought, would melt into my hair colour in summer and make it seem as though pearls were sitting in my hair from afar.
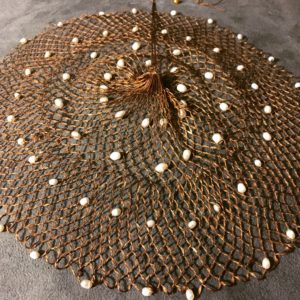
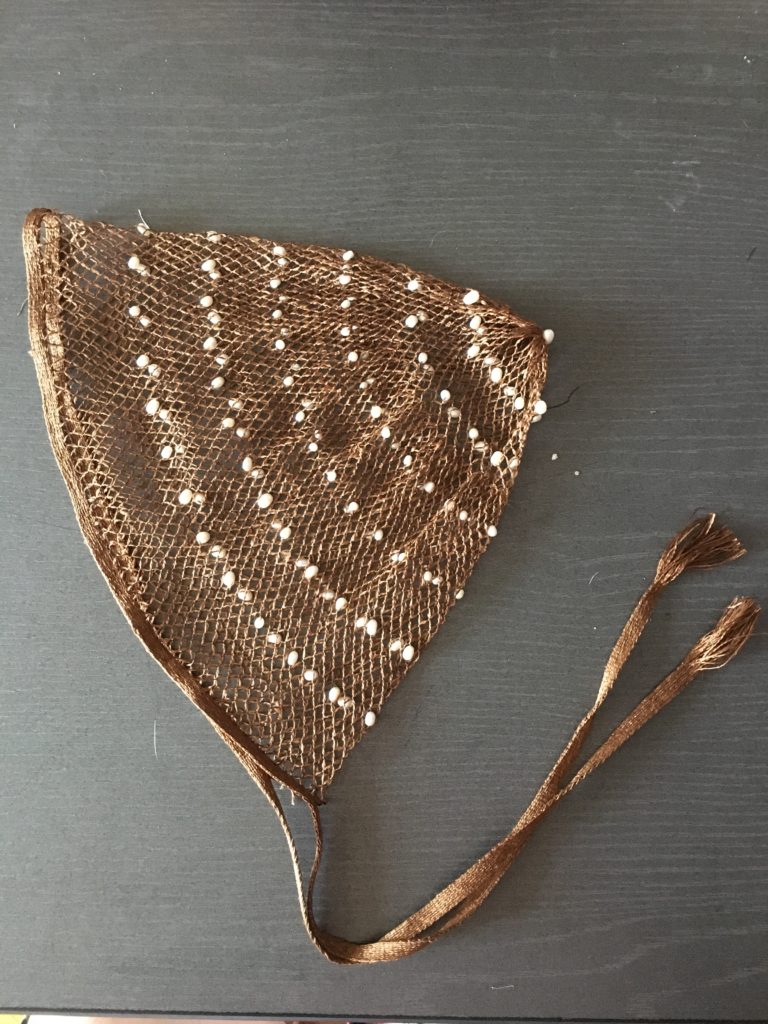
Another thing was that I tried making hairnets last year, that were not circular, when laid flat, but that would form a sort of “cap” as can be seen in different originals. This occurs if you stop increasing the number of loops when the circumference of your head is reached and just keep adding rows. The rows will then form a sort of “tunnel” and the net ends up having a cone-shape, this will look way better on the sides of the head because the net does not bulk over the temples like circular nets tend to do.
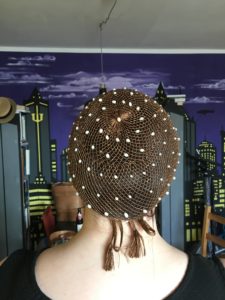
I explained my netting technique before. I started with 50 loops at the top and increased to 100 loops after a few rows. The material is walnut dyed silk from Marled Mader (still the best material I tried so far) and I added a tablet woven ribbon to fasten it (and omg, a fixed ribbon wears with so much mor comfort than a fingerloop braid)
I did not count the pearls exactly, There must be approximately between 120 and 150 pieces in the net.
This is how the shape looks laying flat:
And this is how it looks worn:
Further information:
My Pinterest collection on original nets
Our blog category filet knitting
Best Facebook group for making hairnets and filet netting
Great blog on filet netting and hairnets
Related Posts
The following posts might interest you as well:


